Heating
RV’s don’t have a good insulation. When the temperature gets below 10°C it is getting cold inside too.
Basically there are two sources of heat: your gas furnace and electric heaters. If you stay with a campground on a daily or weekly rent, the electric energy is usually included in your rent. On a monthly base it is not. Which means if you travel around it’s cheaper to use electric energy, if you are staying a longer time it is a good question, use electric or gas energy to run the heating.
With electric heating it is the question, which technology to choose. There are fan based heaters and there are radiators. We have both. I like the radiator when it is not so cold. It gives up even heat and makes no noises. I put it in the bedroom at night and under the dinette table at day, so I am close to the heat. The fan heater comes as a secondary heater when the temperatures drop another 10°C.
From my experience one electric heater can raise the temperature around 5°-10°C, so when it’s -5°C outside you need two heaters to get 15°C inside. Of course it’s worse at night when temperatures drop and the sun cannot help heating the RV.
The Problem in running 2 heaters are the fuses. Our rig has 30amp total and we have two separate 15AMP circuits. If we put one heater on each circuit and let them run with 70% power we are fine. If we want to use a portable water boiler or the coffee maker, than we have to turn of the heater on the connected circuit. Sometimes the fuse blows even if we didn’t use another device. It might be the water heater turning on, so you never can be sure if the fuse blows, especially at night when you sleep. So the furnace should be turned on with a thermostat level low enough so it doesn’t kick on when the electric fans are working, but high enough so it can work as a fall back when the fuse blows at night and you don’t want to freeze in your beds.
To help with the low Amperes of the RV is to check the post of the campground where you connect your power cord. Often the post has another connector for 110V. Here you can hook up one of the heaters, so your rig has the full 30AMPS for usage.
If you have to pay for electricity here are some calculations. When I ran both heaters they used around 100kWh per 24 hours. The price at that campground was 15cent per kWh, so heating would be around $15 per day. I didn’t try, but I would estimate that a propane tank would heat the rig for maybe two days, one filling is around $20. So the price seems to be even between gas and electric.
Water
Sewage

 Wir hatten eine recht nutzlose Sitzbank in unserem Frankia und meine Frau ist auf die Idee gekommen, sie rauszureißen und einen Boden einzuziehen, so daß wir einen Stuhl und einen Tisch nutzen können.
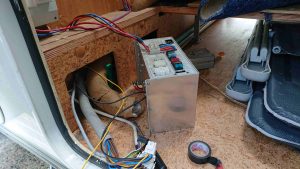
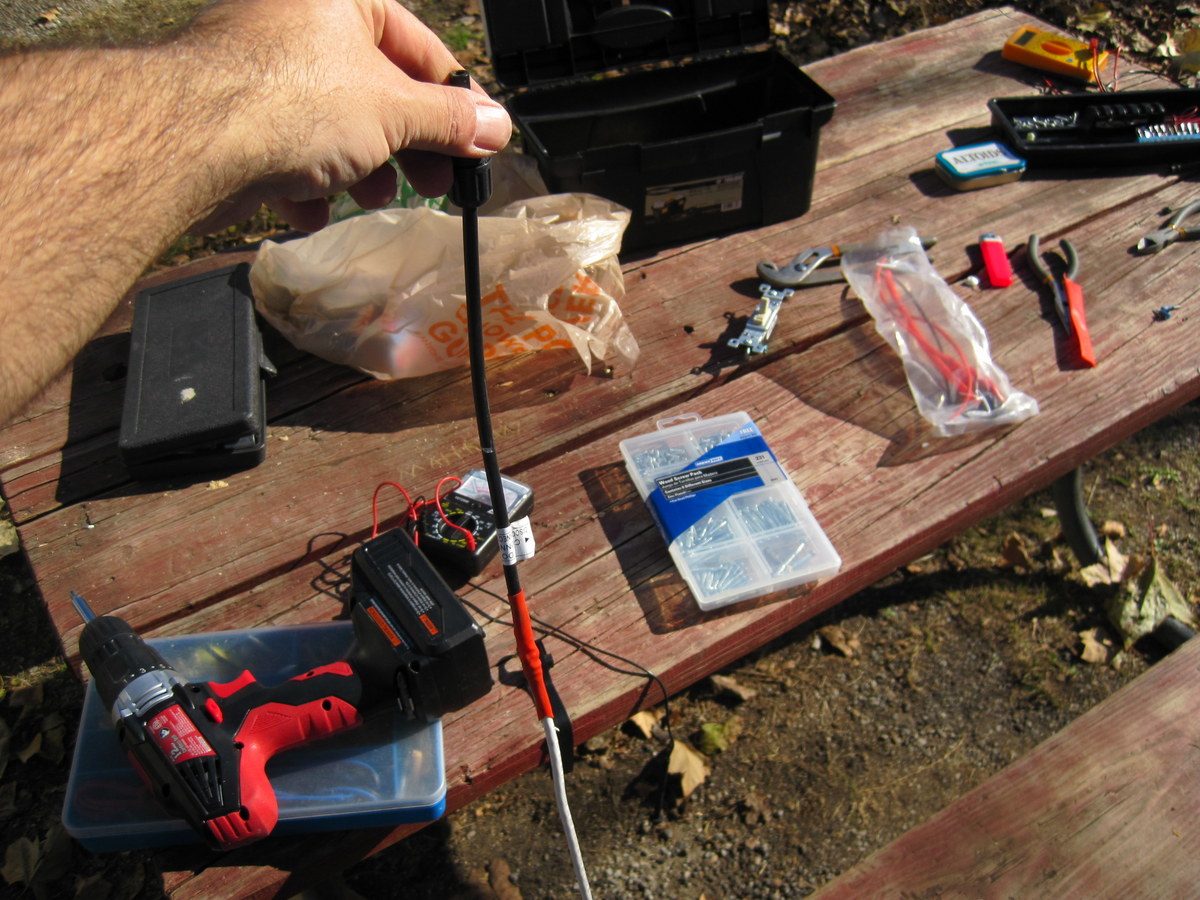
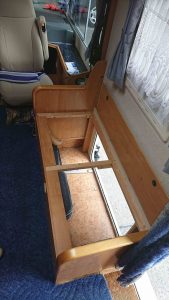 Ein Problem waren die verschiedenen Geräte, die in der Bank waren. Das Solar-Ladegerät, der zentrale Stromverteiler mit den Sicherungen und der Inverter für 220Volt mussten umgesetzt werden. Dann sind die Rohre der Heizung, die auch umgelegt werden mussten. Der Sicherungskasten für 220V musste bleiben, da ne Menge Kabel da reingehen.
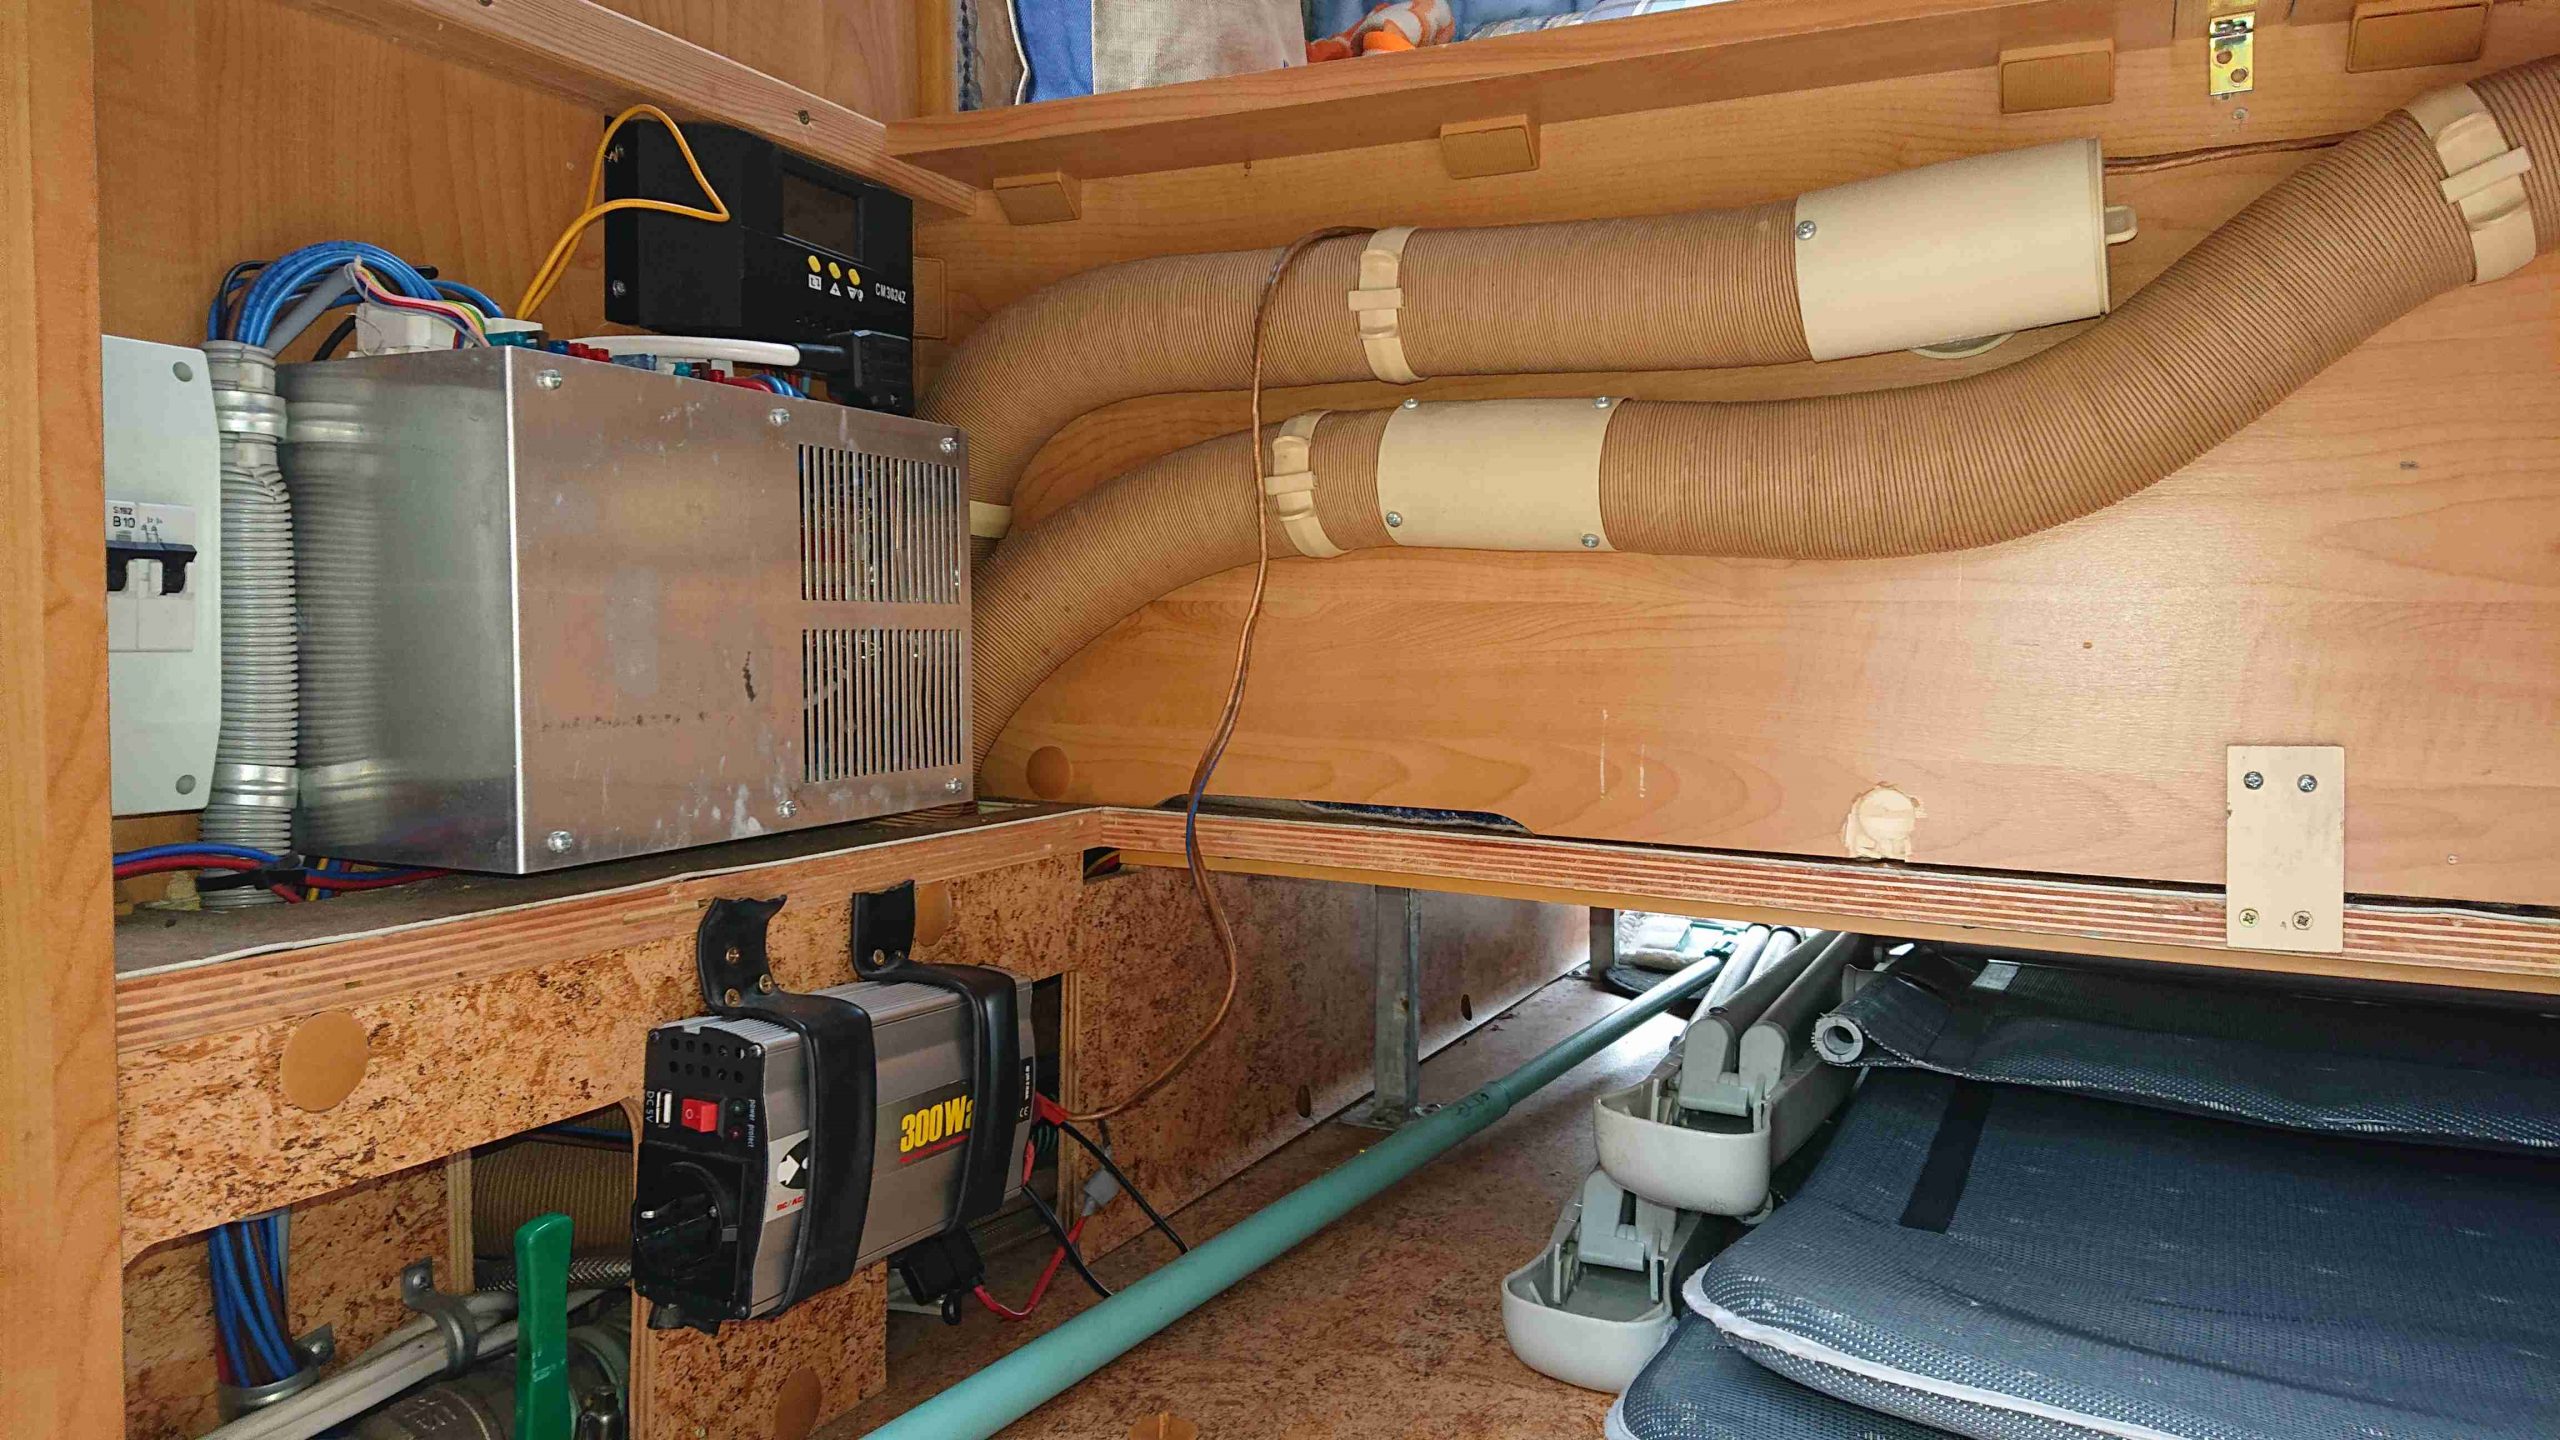 Hier ist nun schon die Sitzbank ausgebaut.
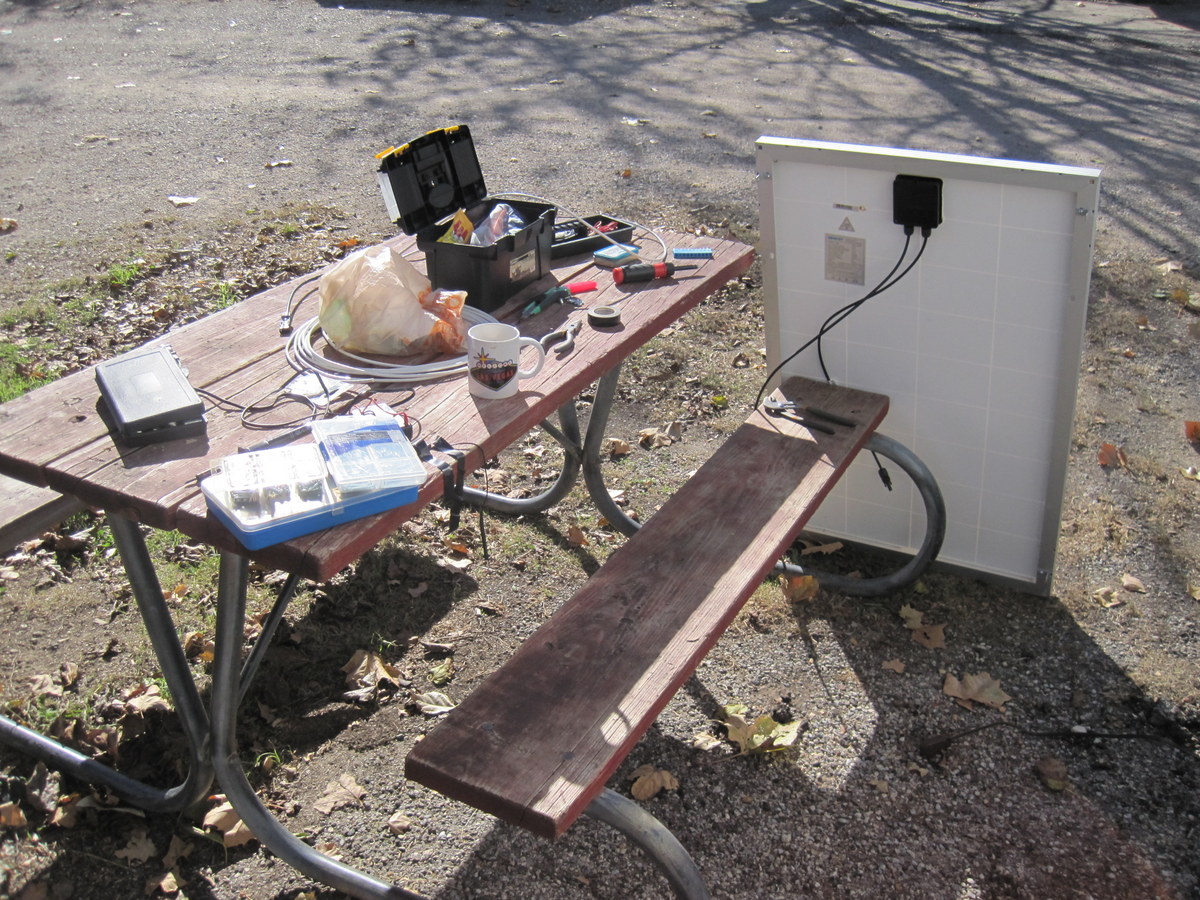
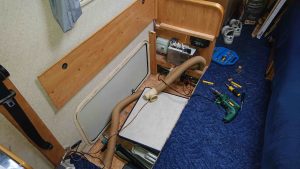
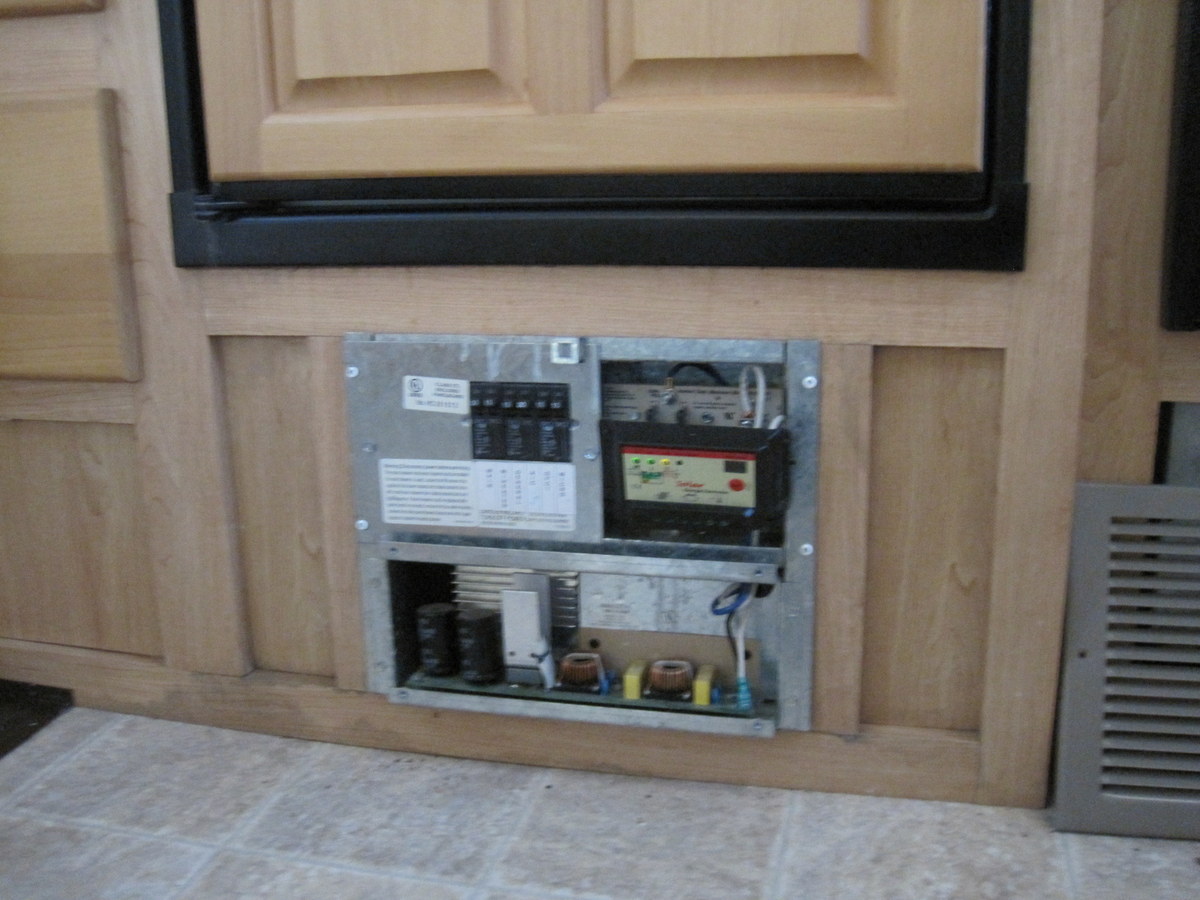
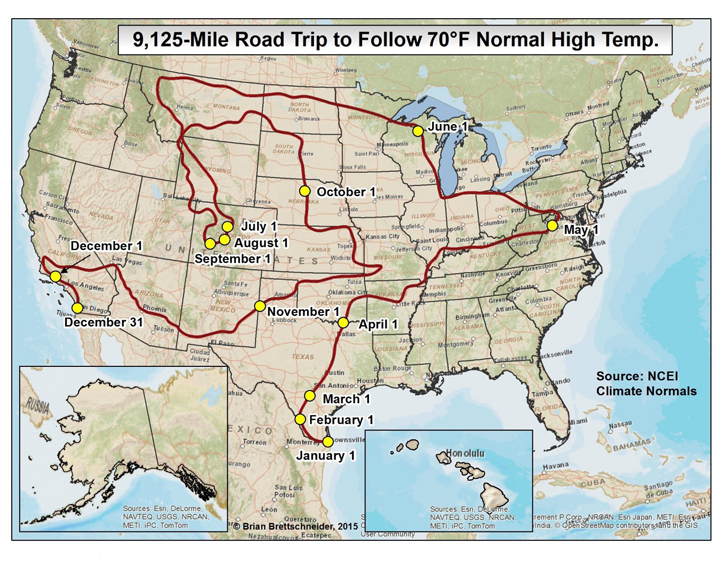
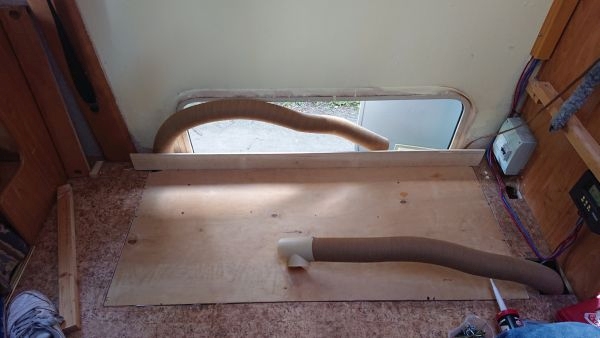 Die alte Front wird als Abschluss eingebaut, dahinter liegt der Heizungsschlauch. Das Solar-Ladegerät wandert nach außen.
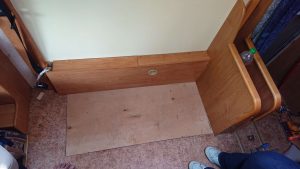
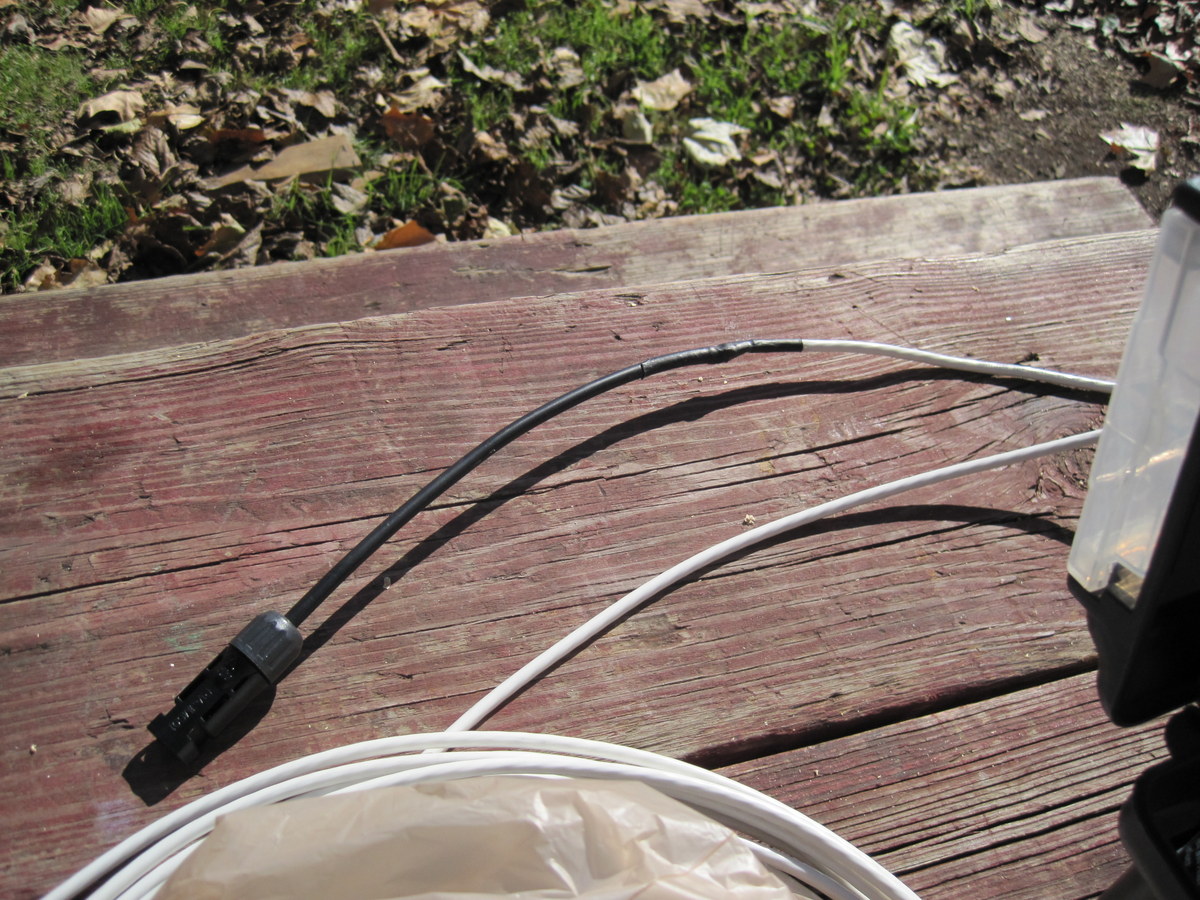
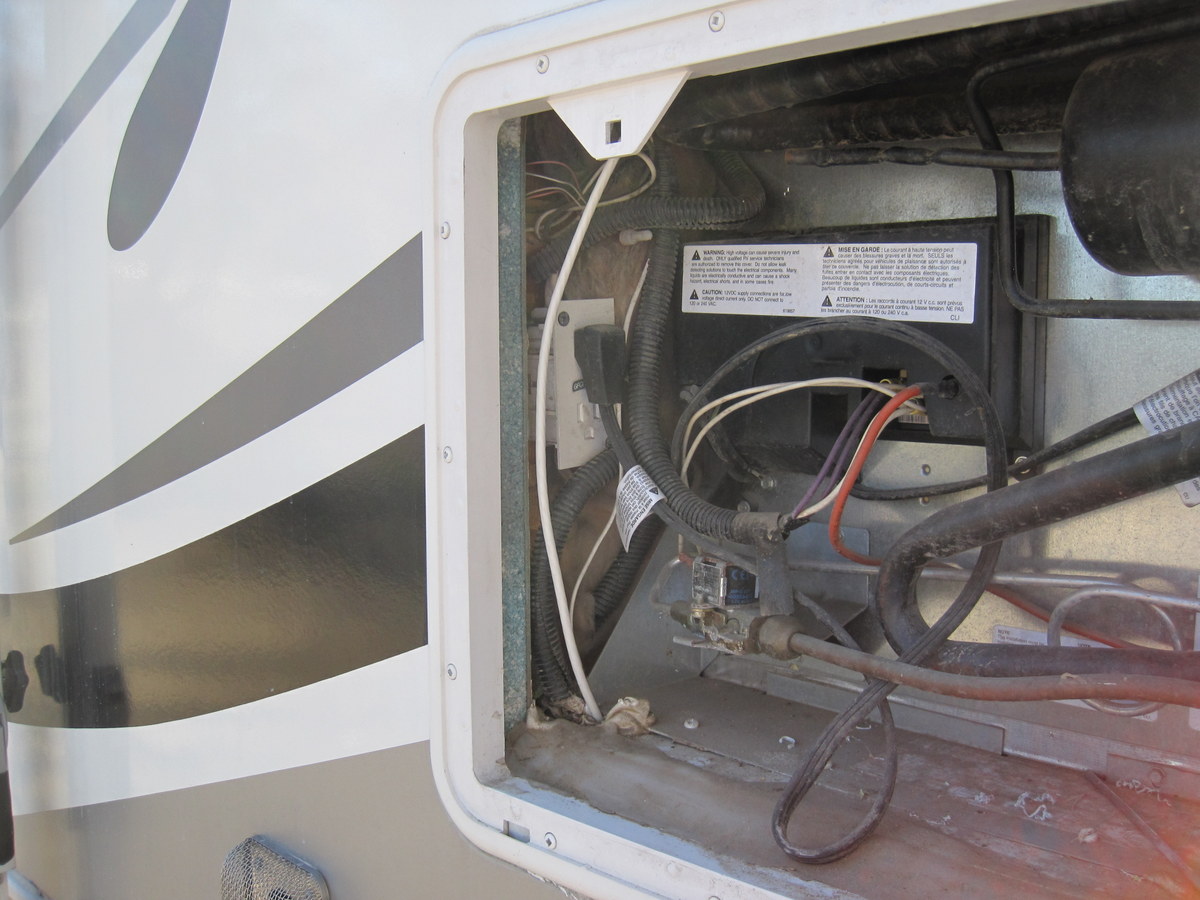
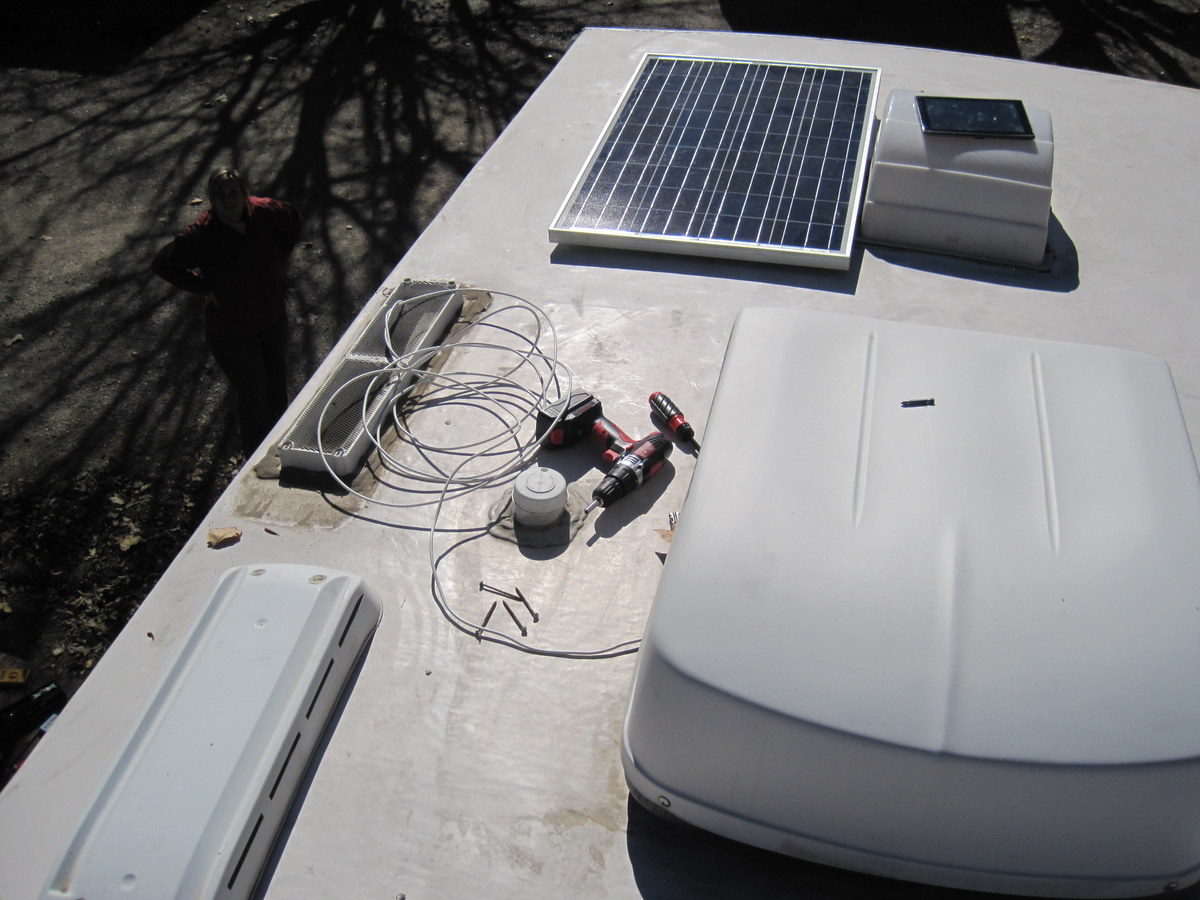
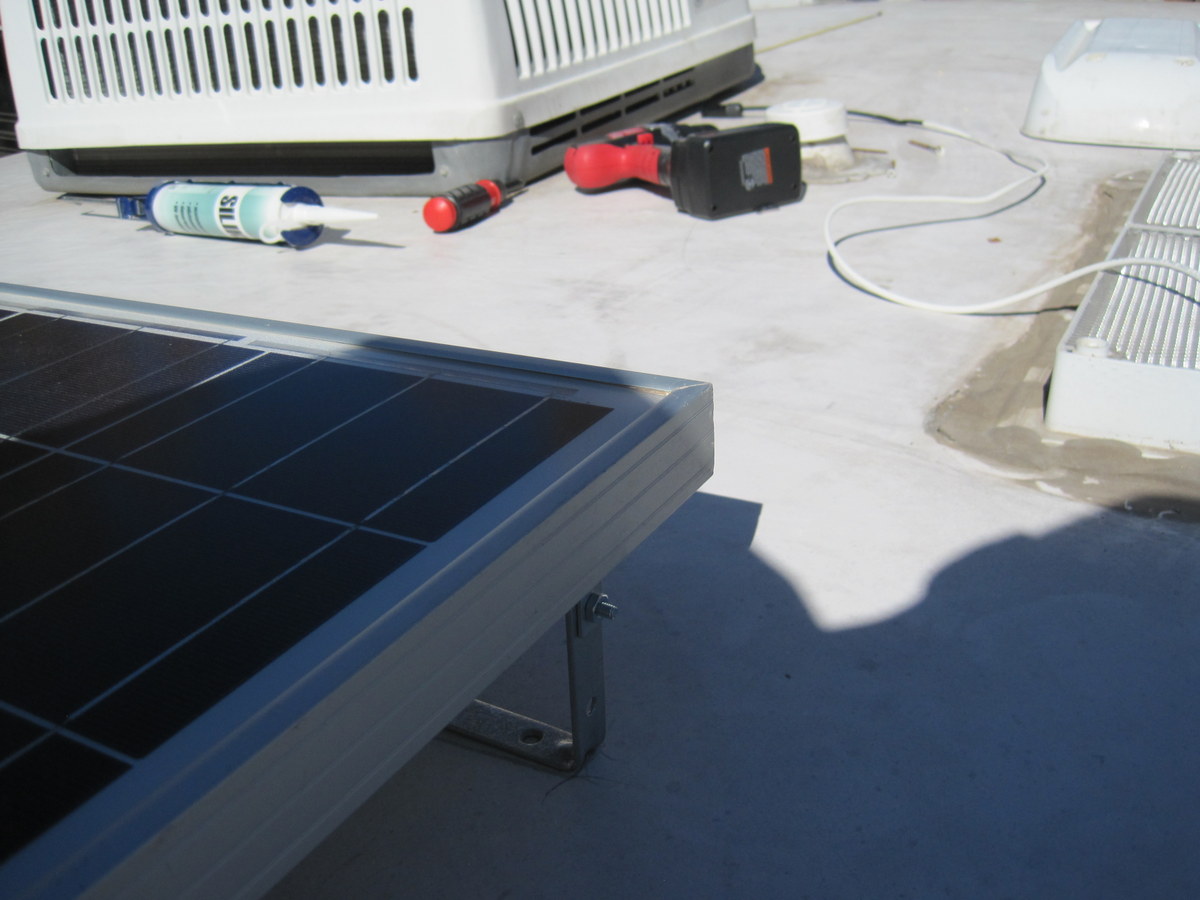
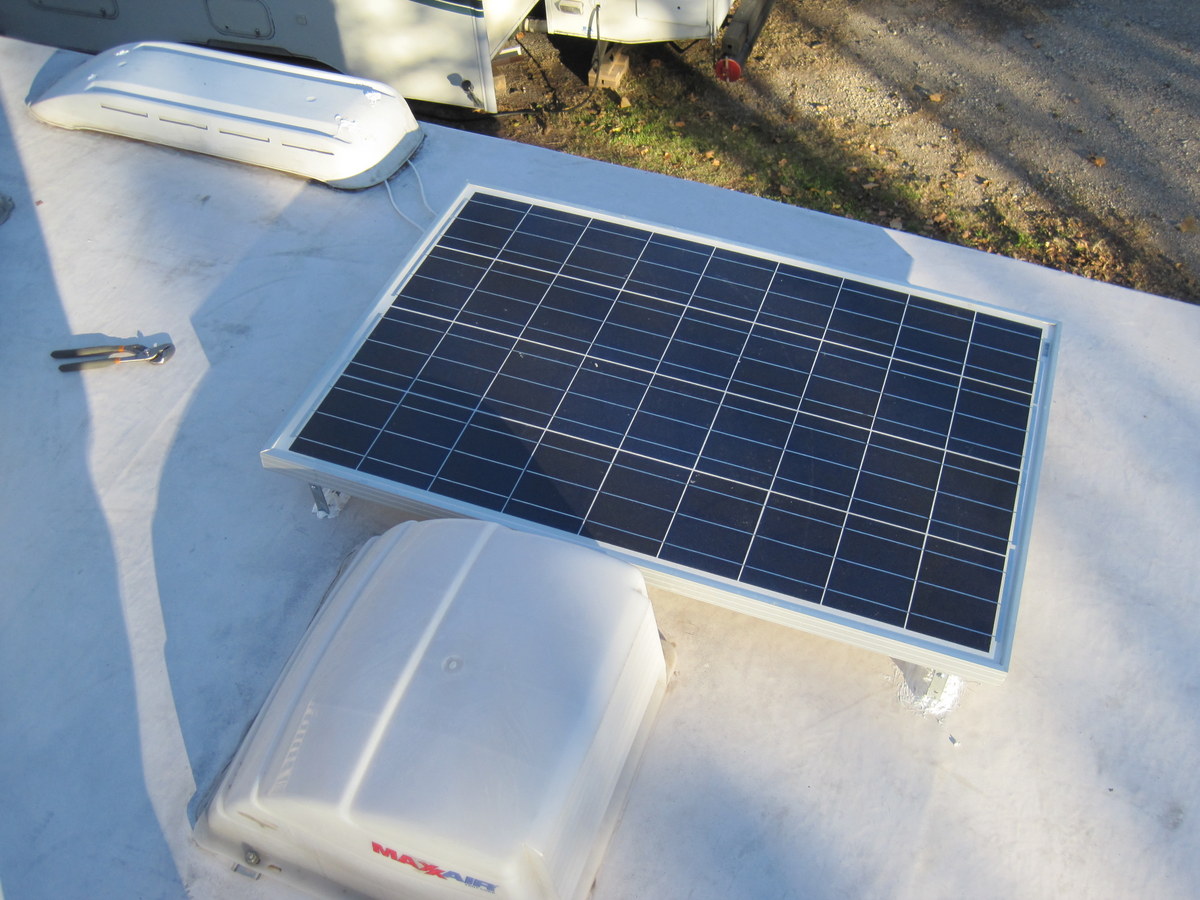
 I unscrewed the cover of the fridge vents and put the wire through the cover. It was a bit tricky getting the wires through.